
This guide walks you through the process of setting up and authenticating your Asana app to work with the Integrate Asana with Gravity Forms plugin.
Step 1: Create an Asana App
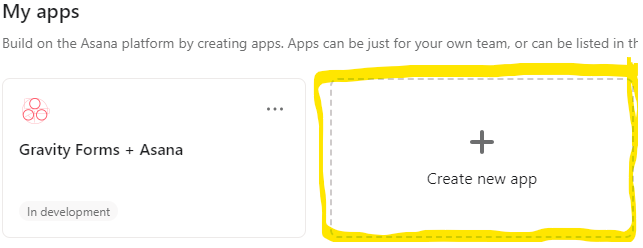
1) Go to your Asana My Apps page.
2) Click Create new app.
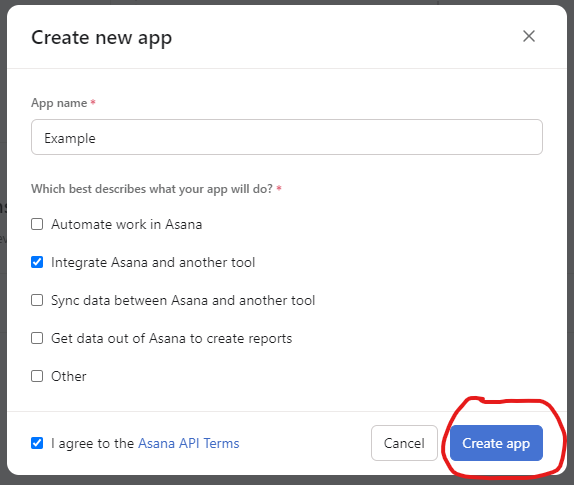
3) Enter your app name.
4) Select the option Integrate Asana and another tool.
5) Agree to the Asana API Terms and click Create app.
Step 2: Enter App Info in the Plugin
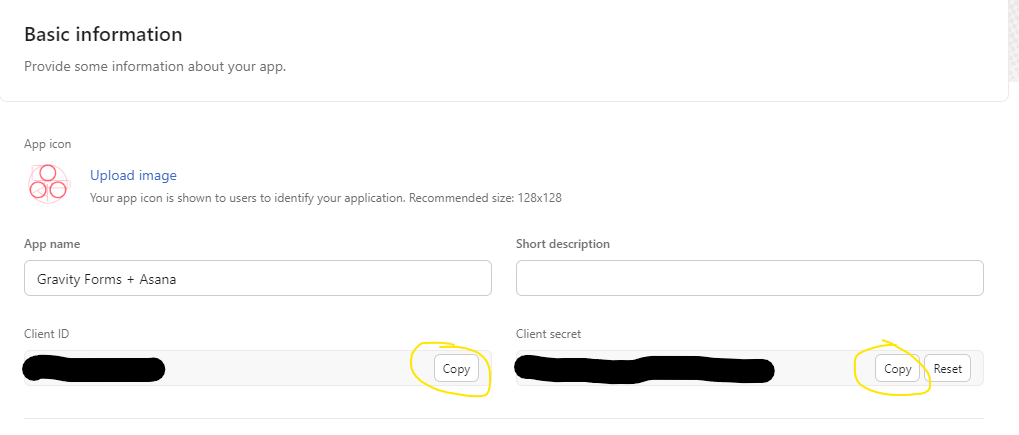
1) In your new Asana app’s settings, navigate to the Basic information tab.
2) Copy your Client ID and Client Secret.
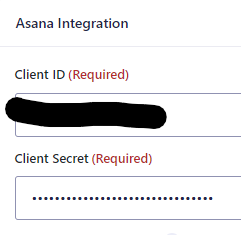
3) Go to your Gravity Forms + Asana plugin settings page in WordPress.
4) Paste the Client ID and Client Secret into the respective fields.
5) Save your settings.
Step 3: Configure the App in Asana
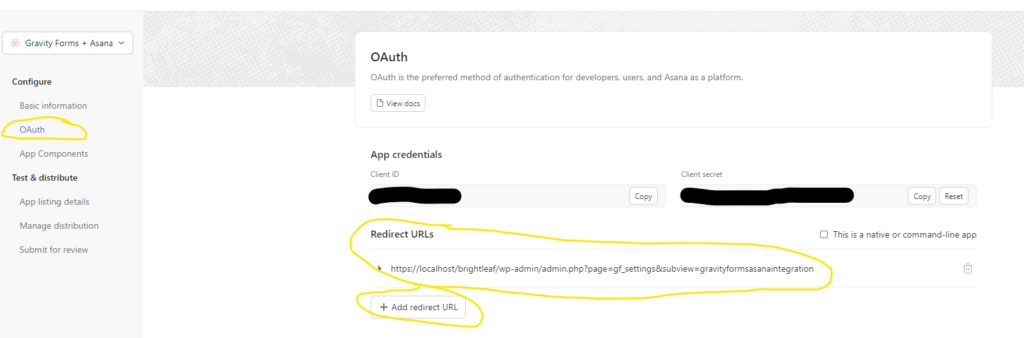
1) Go to the OAuth tab in your Asana app.
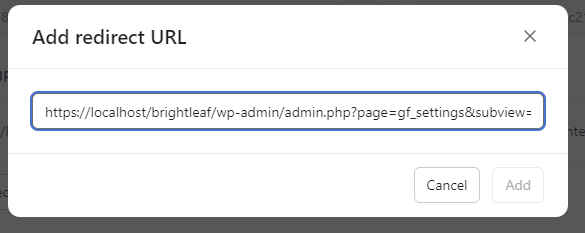
2) Click Add redirect URL and paste the plugin’s redirect URL (from your settings page) without the &step=3 part.
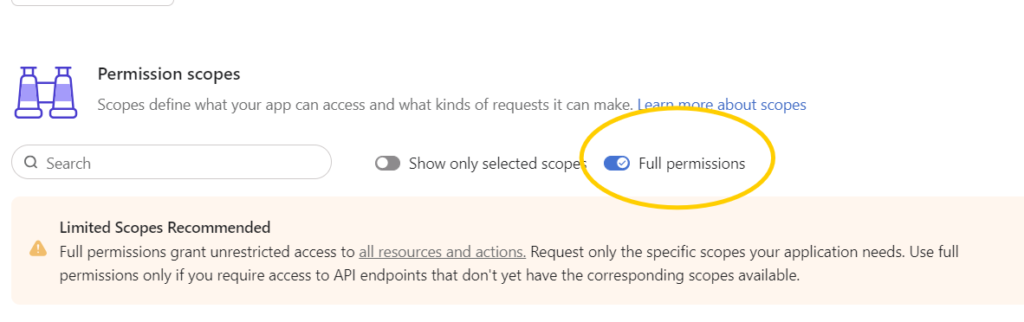
3) If prompted for permissions, choose Full permissions. (This will change in the near future. Watch out for a new post with guidance.)
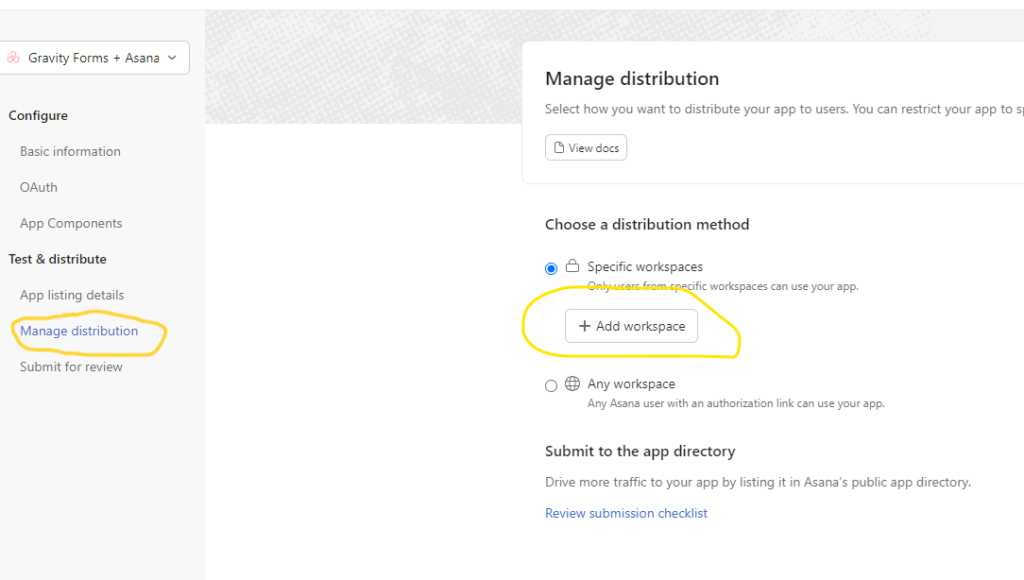
4) Go to the Manage distribution tab.
5) Click Add workspace and select the workspace(s) you want to allow access to.
Step 4: Authorize the Plugin
- In your Gravity Forms + Asana plugin settings, go to Step 4.
- Click the Authorize button. This will take you to Asana’s authorization page.
- Log in to Asana (if you aren’t already) and grant access to the app.
- Once successful, you will see a confirmation message in the plugin settings.
You are now ready to use the Gravity Forms + Asana integration!